
To use a 3D printer to turn your 3D model into a physical object, you must first create G-Code files. You start this process by building the model you want to use with the relevant tools. When your model is prepared, export it as an STL file, which is the common file format used in 3D printing. After that, you import the STL file into the slicing program of your choice, where you can change some parameters to tailor the printing procedure to your needs and preferences. Layer height, print speed, infill density, and support structures are a few examples of these parameters.
Once the slicer settings are set up to your liking, you slice the model, which entails dividing it into separate layers and creating the toolpaths that the printer needs to follow. After the model has been sliced, you save it as a G-Code file, which has the precise instructions needed for the printer to print the design precisely. Lastly, you use a USB cable or an SD card to upload the G-Code file to your 3D printer. This allows the printer to read the instructions and start the fabrication process, which is what finally turns your digital design into a physical object.
G-code: What is it?
A G-code is the printer’s language, and it allows humans to communicate with the machine and instruct it what and how to accomplish things. The G-code contains an instruction that causes the printer to move its part within the system. Within the G-code, there are also G-commands and M-commands, which have been assigned actions or movements.
The commands in the G-code specify what activities the 3D printer should execute. How fast to run it at, where to move it, what temperatures to set, etc. Having basic G-code understanding is really beneficial for all creators. It helps them better comprehend how the 3D computer works. They can also use it to check print files, maintain machines, and debug.
3D printers can employ different commands or formats, even if G-code is the common language for them. It can be exported to a different location if the file format supported by your printer is different, like.x3g files. Since binary files constitute the foundation of many other file formats, this is crucial. When viewed in a G-code file rather in binary form with many 0s and 1s, they are easier to read.
Ideally, writing a G-code wouldn’t be necessary. This is automatically accomplished by your slicer program, which turns the planned STL file into a G-CODE that the printer can use. The slicer, as its name suggests, is in charge of slicing the model in the XY plane. Every slice will represent a single layer that the printer is supposed to print. The printer receives instructions on where and how to deposit the plastic once it has been extruded from the generated G-codes and M-codes.
You have the option of writing the printer’s G-code yourself. You will need to utilise a text editor with a.TXT output file in order to do this. All that’s left to do is rename the file with the G-CODE included in the suffix after writing and saving it. While notepad may be sufficient as you will only be writing a few brief G-Code lines, there are a few coding editors (mainly used by C++ and Java developers) that can be useful while creating the G-code.
How do you Generate G-code?
The G-code contains a great deal of information. If you open it in a text editor, you might be able to read it, but it’s unlikely that you’ll understand anything. A program such as the Repetier Host can help you comprehend the G-code better. This kind of program will allow you to open the G-code and view every path the print head will take in order to produce the print. The Repetier Host’s colours correspond to the various code functionalities.
You will require a slicing program or 3D modeling software with an integrated online slicer, such as SelfCAD, in order to generate the g-code automatically.
Cura is another well-liked slicer. Printing requires thousands of steps, and a g-code can contain hundreds of pages. Writing all of the code by hand could take tens or even hundreds of hours, depending on its length.
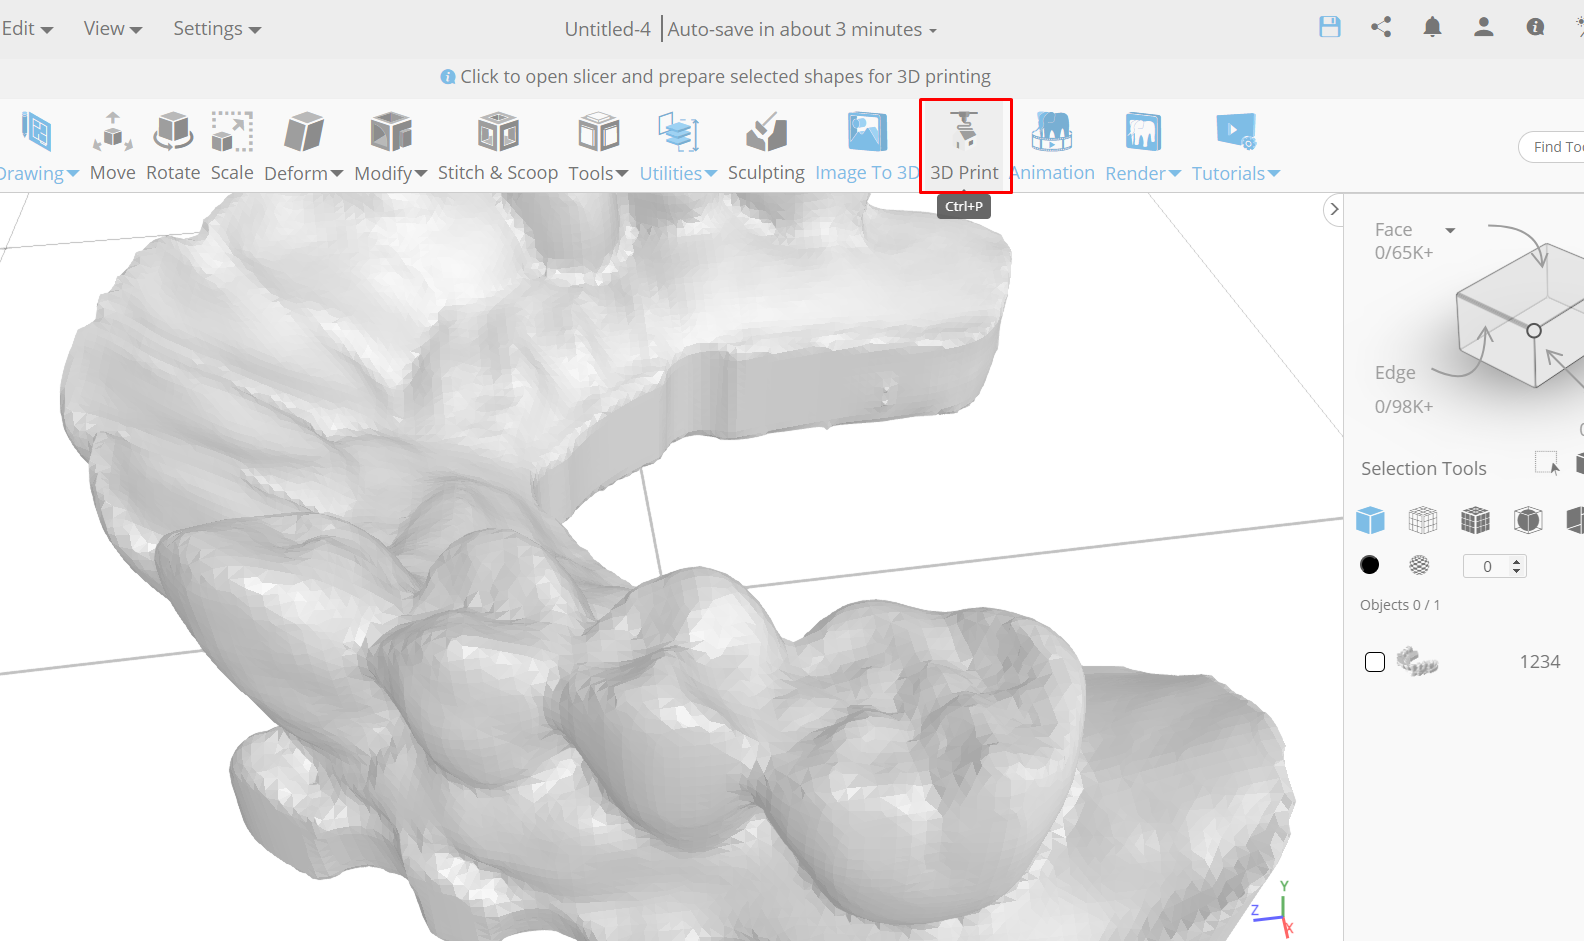
To use SelfCAD, simply click the 3D Print icon located in the main toolbar.

You just need to use the slicing software to generate the G-code and save it to your PC after it reroutes you to it. With the help of the slicing programs, the entire G-code production process is automated. The slicer combines several commands to produce the G-code. For the purpose of printing the 3D model, they set up the movement, temperature, and extension sequence.
How to Make a G-Code File for a 3D Printer?
1. Design a 3D model.
It is necessary to first conceptualise a 3D model that can be printed before beginning to create a G-Code file. During this first stage, you will create your design using a modeling or CAD (Computer-Aided Design) program. For this kind of work, popular software choices are SelfCAD, FreeCAD, Blender, TinkerCAD, and Fusion 360. Once your design is finished, make sure you save the file in the STL format. This file type works with the majority of 3D printing hardware and software.
2. Use slicing software to convert your STL file to G-code.
After building your 3D model and exporting it to your computer in STL format, the next step is to convert the file into a format that your 3D printer can read, usually G-Code. Slicing software is required for this conversion procedure since it converts the digital model into a set of instructions that the printer can follow. There are various possibilities for slicing software depending on the kind of printer and materials being utilised. Recommendations include the resin 3D printer Chitubox, the built-in slicer in SelfCAD, Cura, Slic3r, PrusaSlicer, and Simplify3D, which support a variety of printing technologies such Fused Deposition Modeling (FDM) and resin-based printing techniques.
How to convert your STL File to G-Code?
An STL file can be translated to G-code in two methods. The first alternative is to use a slicing software, followed by a CAM program. Slicing divides a 3D model into layers, which can then be printed independently. There are various 3D slicers accessible for conversion, but in this tutorial, we will use SelfCAD’s online slicer. It’s free and simple to use.
The procedure of converting STL to G-code in SelfCAD is straightforward. The primary steps are the following:
Step 1: Sign up for SelfCAD.
To sign up with SelfCAD, go to their website and click “Sign up”. If you want access to all of the software’s features, you can upgrade from the free version to the paid version. You can use the software online or download it for Windows and Mac. Both of these programs are synchronised. Whatever you do offline, you can also obtain it online.
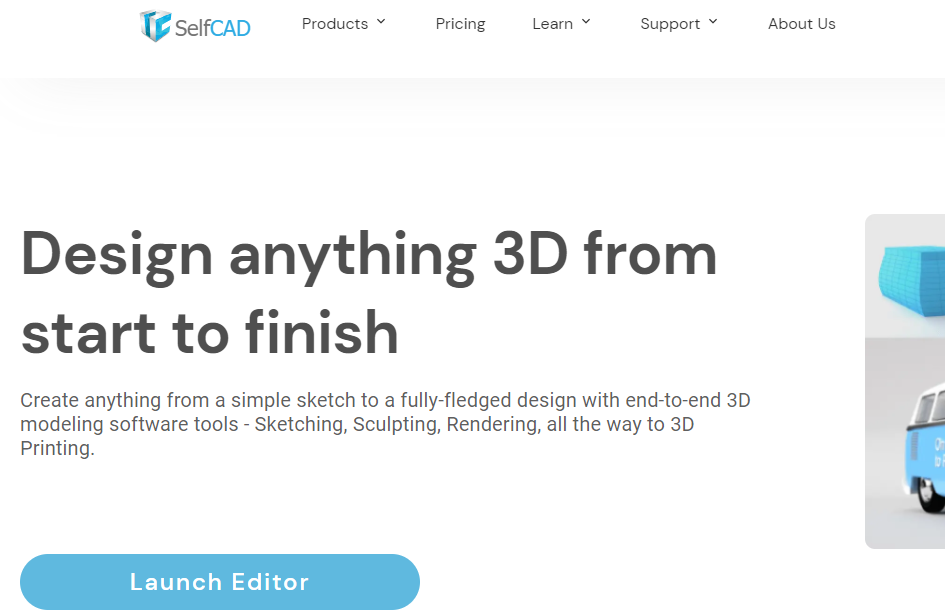
SelfCAD: Image Source: selfcad.com
Step 2: Import or create an STL file.
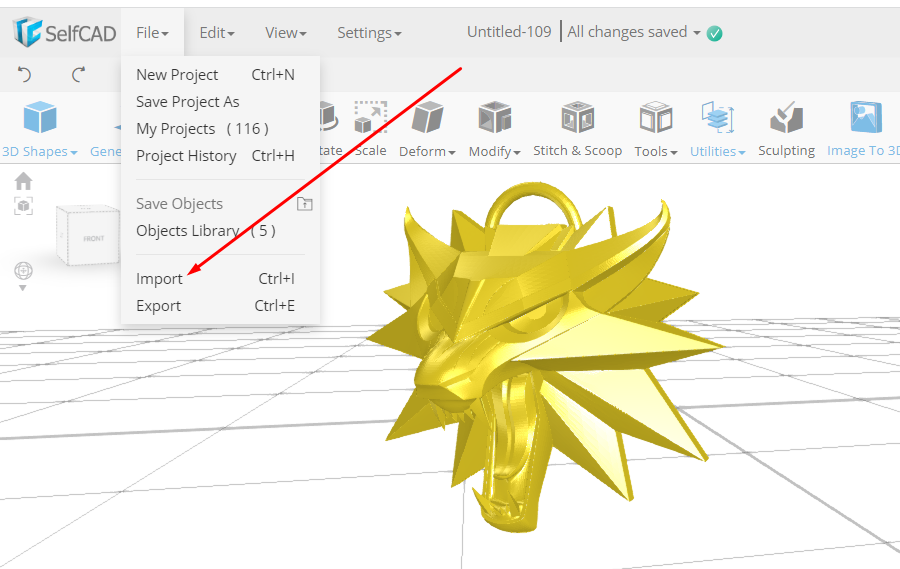
Import to STL File: Image Source: selfcad.com
If the meshes have flaws, you can fix them with SelfCAD’s different Magic Fix tools. Learn how to fix non-manifold errors in meshes in the video.
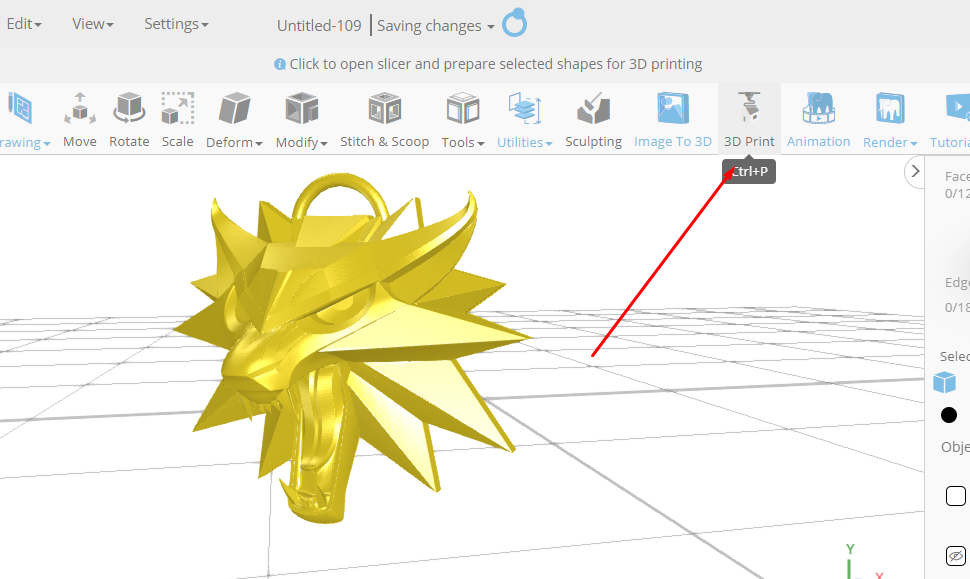
Step 3: Open the Slicer, select your 3D printer, and start slicing the model.
You must first choose your printer in the slicer. Once you’ve accessed the slicer, you’ll need to select your 3D printer. Once you’ve decided on a 3D printer, you can slice your design and generate G-code. You can also customise your settings based on your needs. If you don’t know which settings to use, you can leave them as is.
Slicer Setting: Image Source: selfcad.com
Step 4: Save the G-Code and begin slicing
Once you’ve picked your 3D printer and the particular settings for your design, select Slice and the procedure will begin. You should be able to see how long it will take to slice your design and how much material will be used, as well as a preview of how your design will look when 3D printed.
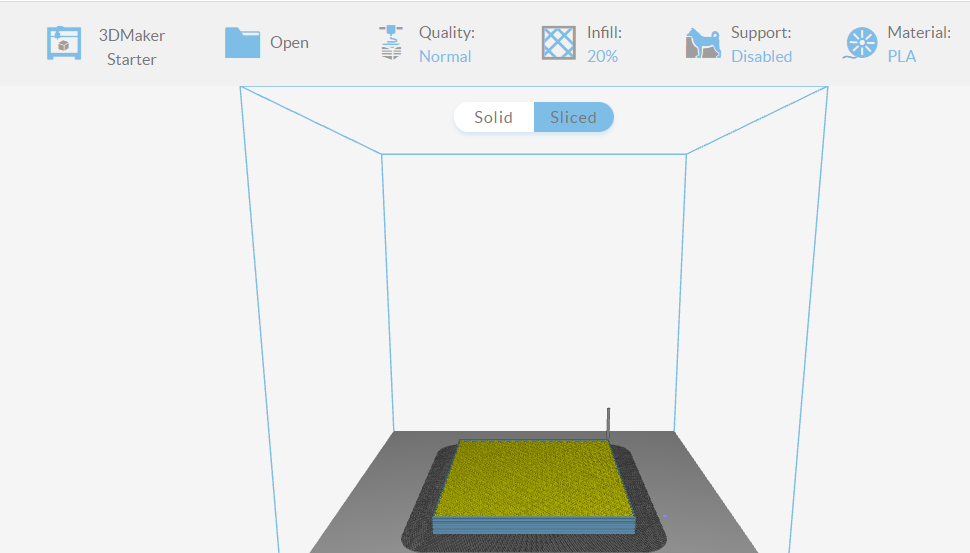
Slicer Setting: Image Source: selfcad.com
Once you’re finished, save your Gcode to your PC.
3. Transfer the G-Code file to your printer.
After the G-Code file has been created, the last step is to send the file to your 3D printer to print. The process can be carried out in two main ways. First, you have the option to move the G-Code file from your computer to an SD card. After the file has been saved to the SD card, put the card into the slot on your printer that is assigned for it so that the printer can access the file directly. You can also use a USB cable to transfer the G-Code file straight from your computer to the 3D printer, which is a more practical choice. The printer and your computer can communicate with each other without any problems thanks to this direct transfer, which makes it possible to start printing without using any intermediate storage devices. Once you carry out one of these procedures, your 3D printer is properly configured to start turning your digital design into an actual object.
Conclusion:
Even though G-code to 3D printer conversion might be a difficult procedure, it can also be simple and precise with the correct software. We hope that this tutorial has provided you with the knowledge and helped you grasp the fundamentals of converting G-code file for a 3D printer.